- Introduction
- Instant run of your Mule application inside a local runtime
- Visual editors to configure API specification files and Mule domains
- Push changes to a local running app to test changes
- Integration with Exchange to import templates, examples, definitions and other resources from your Anypoint Platform organization
- Embedded unit testing framework
- Built-in support to deploy to CloudHub
- Downloading and Installing Anypoint Studio
- Step 1 - Now, extract it into the ‘C:\’ root folder. I mean where the file downloaded.
- Step 2 - Open the extracted Anypoint Studio.
- Step 3 - For accepting the default workspace, click OK. You will get a welcome message when it loads for the first time.
- Step 4 - Now, click on Get Started button to use Anypoint Studio.
- Step 1 - Now, extract it. In case if you are using OS version Sierra, make sure to move the extracted app to /Applications folder before launching it.
- Step 2 - Open the extracted Anypoint Studio.
- Step 3 - For accepting the default workspace, click OK. You will get a welcome message when it loads for the first time.
- Step 4 - Now, click on Get Started button to use Anypoint Studio.
- Step 1 - Now, extract it.
- Step 2 - Open the extracted Anypoint Studio.
- Step 3 - For accepting the default workspace, click OK. You will get a welcome message when it loads for the first time.
- Step 4 - Now, click on Get Started button to use Anypoint Studio.
- Editors
- Mule configuration files
- API specifications
- Properties files
- A pom.xml file to handle dependencies
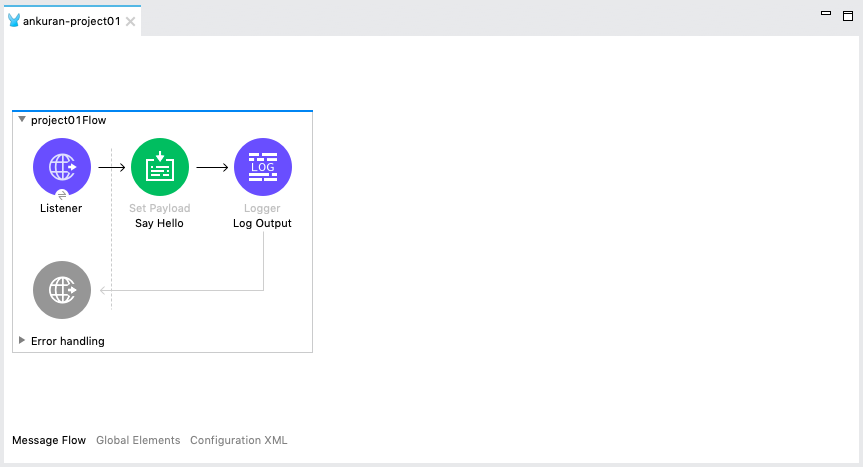
- The Message Flow tab
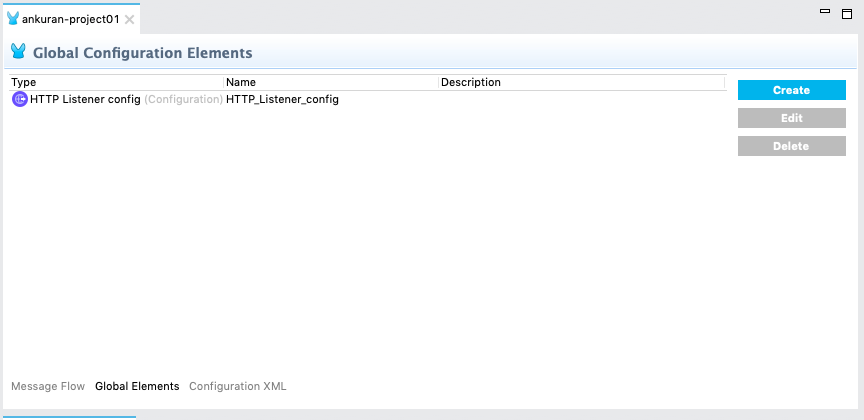
- The Global Elements tab
- The Configuration XML tab

- Views
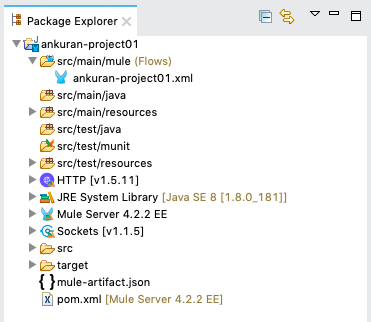
- Package Explorer : The Package Explorer view displays the project folders and files that make up a Mule project.
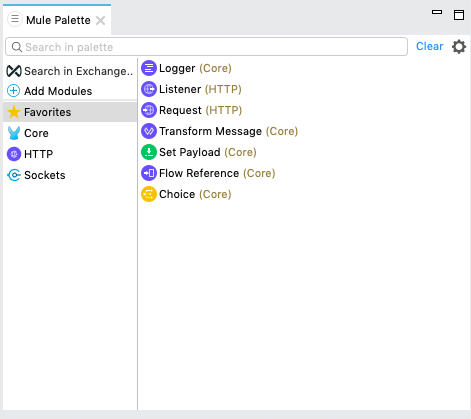
- Mule Palette : The Mule Palette view helps you manage the modules and connectors in your project. You can also add new elements from Exchange in this view.
- Mule Properties : The Mule Properties view allows you to edit the properties of the module that is currently selected in your canvas.

- Console : The Console view contains the console for the embedded Mule server, which displays a list of events and problems (if any) that Studio reports as you create or run your Mule application.

- Problems : The Problems view displays a list of all issues encountered in your project.

Anypoint Studio features enhance your productivity when building Mule applications:
Anypoint Studio 7.x only supports Mule 4.x projects because the structure of the project, export format, XML and scripting language are different. It isn’t possible to embed Mule 3.x runtimes or older versions into Anypoint Studio 7.x.
The procedure to download and install Anypoint Studio on different operating systems may vary. But step to download Anypoint Studio can be possible from same portal. We just have choose the proper operating system while download.
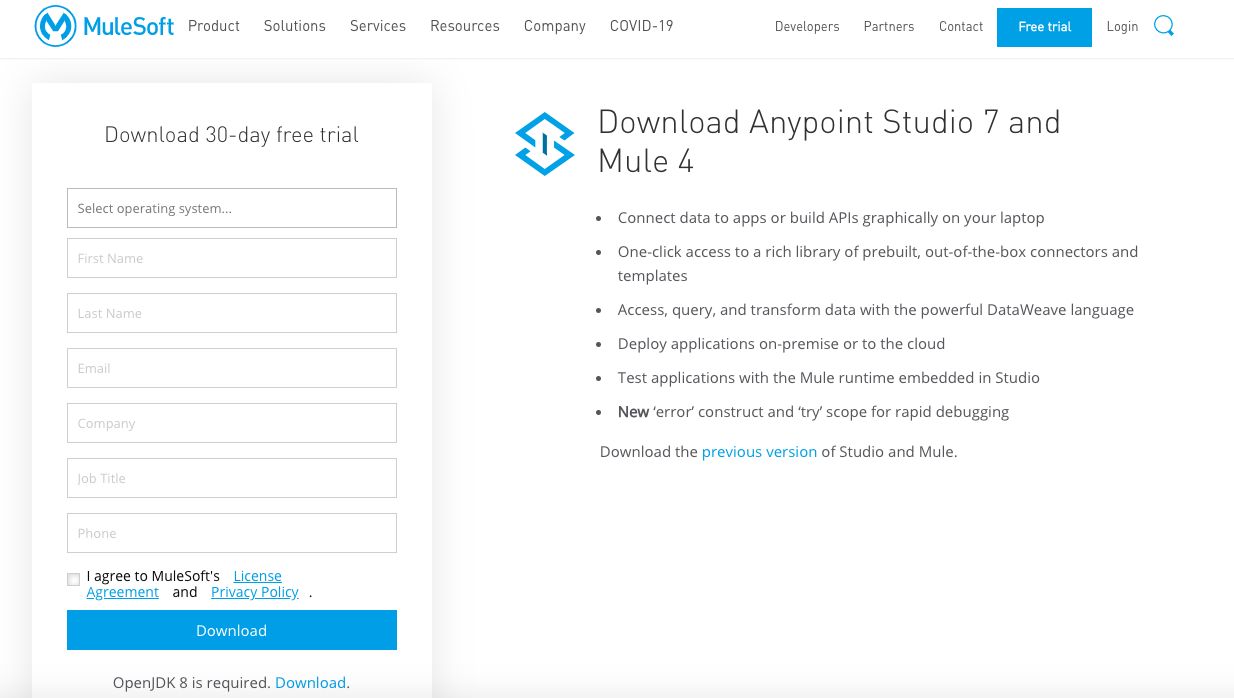
Next, there are steps to be followed for installing Anypoint Studio on various operating systems −
One you download Anypoint Studio on Windows, we need to follow the steps below −
One you download Anypoint Studio on OS X by choosing the Linux operating system from top-down list to download the studio, we need to follow the steps below −
If you are going to use custom path to your workspace, then please note that Anypoint Studio does not expand the ~ tilde used in Linux/Unix systems. Hence, it is recommended to use the absolute path while defining the workspace.
One you download Anypoint Studio on Linux by choosing the Linux operating system from top-down list to download the studio, we need to follow the steps below −
If you are going to use custom path to your workspace, then please note that Anypoint Studio does not expand the ~ tilde used in Linux/Unix systems. Hence, it is recommended to use the absolute path while defining the workspace.
It is also recommended to install GTK version 2 to use complete Studio Themes in Linux.
Studio editors help you design and edit the definitions of your applications, APIs, properties, and configuration files:
The Mule configuration file editor opens when you double-click on the application XML file in /src/main/mule.
The editor contains three tabs which offer different ways to work with your application :-
Contains the canvas in which you can see a visual representation of your flows. You can drag and drop Event Processors from the Mule Palette into the canvas to add them to your flow.
Clicking an Event Processor in the canvas opens up the Mule Properties View with the attributes for the selected processor, allowing you to edit them.
Contains the global Mule configuration elements for your modules. In this tab you can create, edit or delete configuration files.
Contains the XML that defines your Mule Application. All changes applied here are reflected in the canvas and the Properties view of your event processors in the Message Flow tab.
Views in Studio are a graphical representation of project metadata, or properties for the active editor. Move, close, and add views as you develop your Mule project.
Anypoint Studio displays the following default views :-
Click the open arrow next to a Mule project folder to expand or contract it. Double-click a folder or file to open it.
Available event processors, such as scopes, filters, and flow control routers, along with modules and their related operations are displayed.
Drag and drop any event processor to your Favorites or onto the canvas of the Mule Configuration File editor.
This view includes the DataSense Explorer which supplies real-time information about the data structure of your payload and any available inbound and outbound properties or variables.
If the installation of Anypoint Studio is done, lets Configure JDK and Maven to make hands dirty.
Comments